
8.2024 | Lionel Chamorro
From Dev to Prod -
Back
LLM
Optimizing Project Workflow: A Guide to Our Containerized Development Setup
In our development team, we’ve refined an approach to organizing our repositories and projects that ensures consistency across different environments—whether we're experimenting, developing, or deploying in production. Our goal is to make the transition between these stages as seamless as possible. Here’s how we do it.
1. Containers as the Foundation for Everything
One of the key decisions we made early on was to base everything we do on containers. This ensures that the environment we develop in is the same as the one we use in production, minimizing those dreaded “it works on my machine” problems.
- Base Image: We create a base container image that includes all the necessary resources common across all projects, such as the version of Python we use and core system dependencies.
- DevContainer Images: On top of this base image, we build additional layers for development. These devcontainers include tools like Jupyter for interactive notebooks and Black for automatic code formatting. This means that our development environment is well-equipped and tailored specifically for the task at hand without being cluttered.
- Service-Specific Containers: For specific components like APIs, we create additional images based on the base. For example, if we’re building a FastAPI service, we create a container specifically for that, ensuring it has everything it needs, while still inheriting the consistency from the base image.
This strategy guarantees that everyone on the team has the same tools and libraries, no matter which project they’re working on.
2. Installing Modules with Pip, No PYTHONPATH Modifications
Another guiding principle in our setup is that we avoid modifying PYTHONPATH to import custom modules. Instead, we package everything as installable modules.
- Pip Installable Modules: Each project is designed to be installed as a Python package using pip. This ensures that all dependencies are managed properly, and there’s no need for manual path configuration that could cause headaches down the road.
- Editable Mode for Development: When developing, we install these packages in editable mode (
pip install -e), allowing us to work with the latest changes without needing to reinstall the module every time we make a modification.
By treating our code as proper packages and modules, we create a clean and scalable structure that avoids potential path conflicts and ensures every dependency is accounted for in the right place.
3. Automated Project Structure with Cookiecutter
To ensure consistency across all our projects, we use Cookiecutter to generate the structure of each new repository. Every project starts with the same standardized structure, which includes everything we need to hit the ground running.
Here’s an example of the structure Cookiecutter generates:
├── module_package
├── .devcontainer
├── docker-compose.yml
├── docker-images-build
├── LICENSE
├── Makefile
├── notebooks
├── pyproject.toml
├── README.md
├── reports
├── resources
Let’s break this down:
.devcontainer: This directory contains the configuration for the devcontainer environment, ensuring that all team members work in the same setup.docker-compose.yml: We use Docker Compose to orchestrate our containers, making it easy to spin up the entire environment with a single command.docker-images-build: This is where we store any scripts or configurations related to building our Docker images.Makefile: The Makefile is used to automate common tasks like building, testing, and deploying the project.notebooks: A directory for Jupyter notebooks, which is particularly useful for experimentations and interactive work with data.pyproject.toml: This file defines our project’s dependencies and settings, standardizing the build process.reports,resources: These folders are for documentation, reports, and other resources that are essential to the project but not part of the core code.
This structure ensures that every project starts with a solid foundation. It also enforces best practices, making it easier for anyone on the team to jump into a new project and understand its layout.
4. Ensuring Smooth Transitions Between Environments
A key benefit of this approach is that the environments we use for experimentation, development, and production are identical. Because we always work inside containers, the transition between these environments becomes seamless.
- From Experimentation to Development: Whether we’re testing out new ideas in a Jupyter notebook or developing a full-featured API, we know that the containers we’re working in will behave exactly the same in development as they will in production.
- From Development to Production: By building everything in containers from the start, we reduce the risk of issues arising when deploying code to production. The containers ensure that there are no discrepancies between what we develop locally and what’s deployed on our servers.
5. Conclusion
By using containers, pip installable modules, and a standardized project structure generated by Cookiecutter, we’ve been able to create a development environment that minimizes friction and maximizes consistency. This approach allows us to focus on writing code and building products, without getting bogged down by environment-related issues.
Our process ensures that what works in development will also work in production, and that anyone joining the team can get up to speed quickly. If you’re looking for a way to streamline your own development workflow, I highly recommend exploring these strategies!
MORE ABOUT US

Case Study
90% Cost Reduction Achieved Market-Level Performance with Customization for Each Franchise
Substantial improvements in order-taking efficiency and accuracy
Case Study
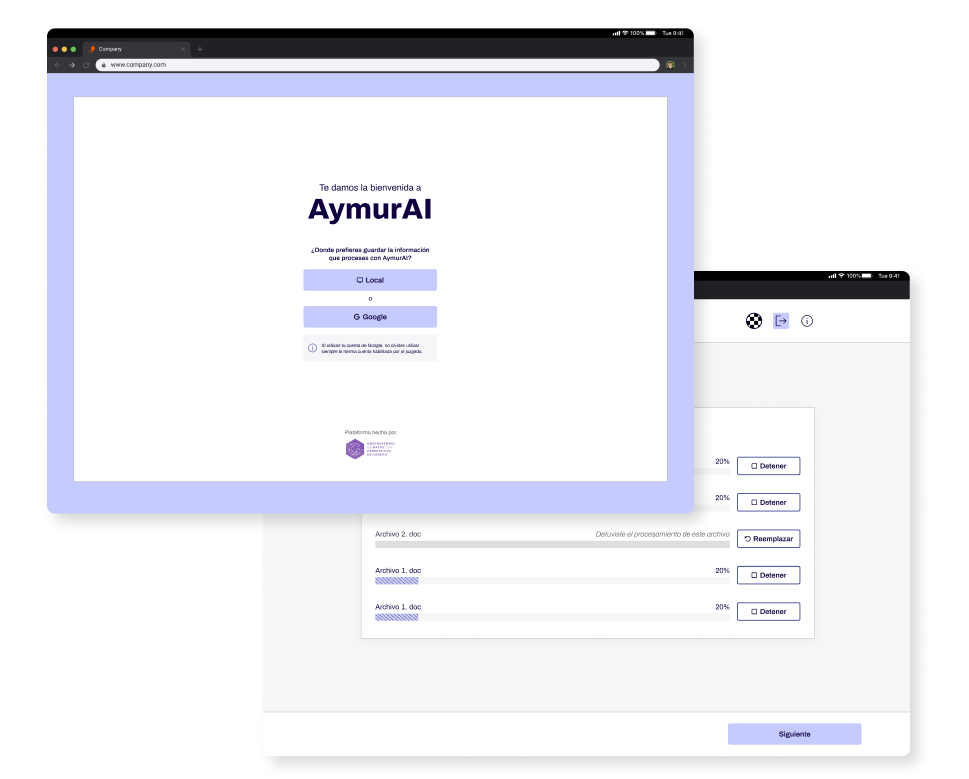
AymurAI: UNESCO-Recognized AI Tool Advancing Gender Justice and Transparency in Latin America
Open-Justice Project Featured in UNESCO's Global Toolkit on AI and the Rule of Law for the Judiciary
Workflow
From Dev to Prod
How Containers and Cookiecutter Simplify Our Project Structure

Case Study
Intelligent Music Curation: AI and Data for the Perfect Experience in Commercial Spaces
Brandtrack and Collective AI: Uniting Passion for Music and Data Science to Create Unique Environments

Case Study
Precision and Efficiency in Hiring: Innovative CV Screening System
AI-Driven Talent Selection: Enhancing Recruitment Accuracy and Speed